
Epoxy, resin & countertops
Resin where it earns its place.
River tables, wood-and-resin countertops and bar tops. Resin fills what the tree left open; the wood still does the talking.
- River tables
- Countertops & islands
- Bar tops
- Clear, smoked or tinted
01 — Pieces
Three uses, three different demands.
01
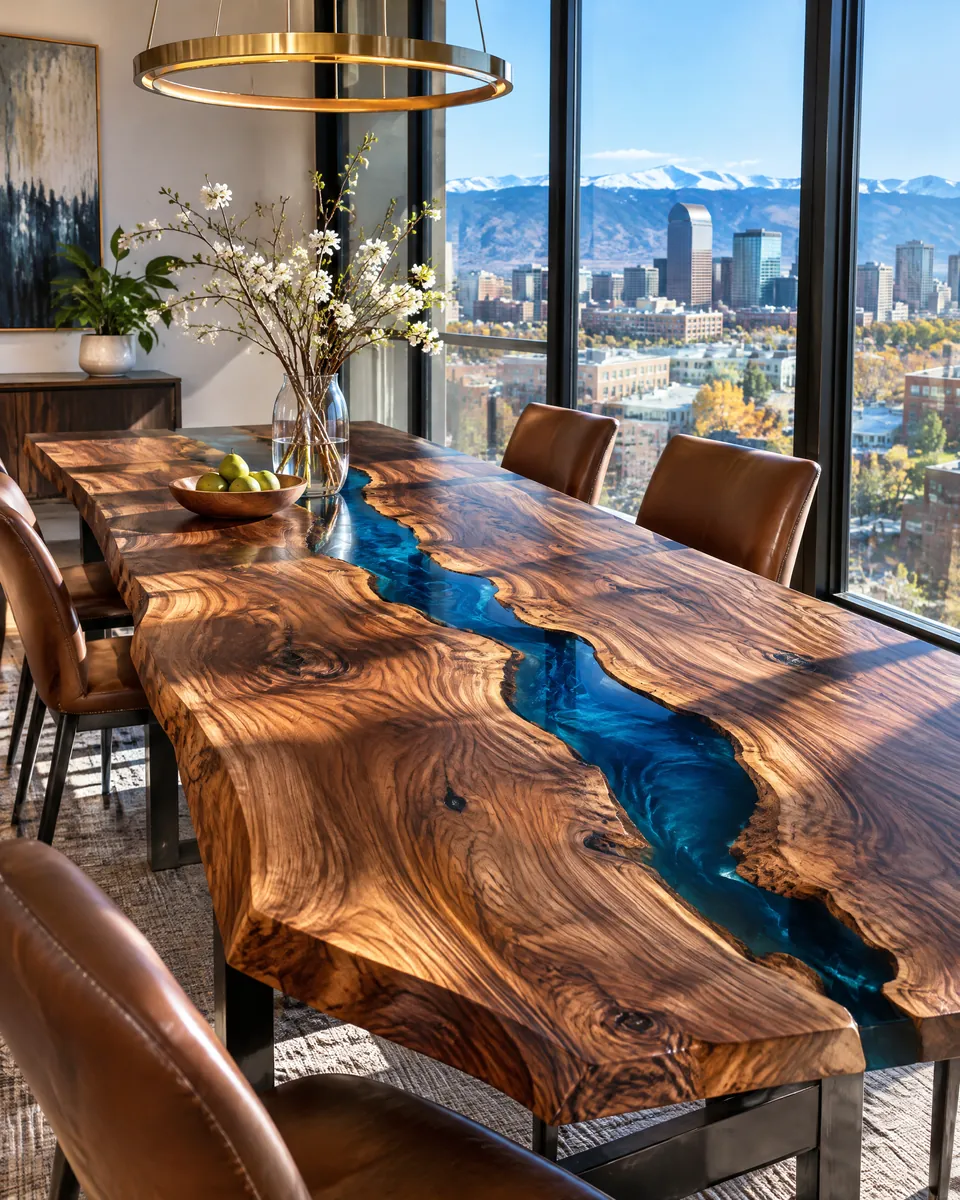
River tables
Two live edges facing each other across a channel of resin, clear, smoked or tinted. The slab is chosen first; the river follows its shape.
Illustrative image
02
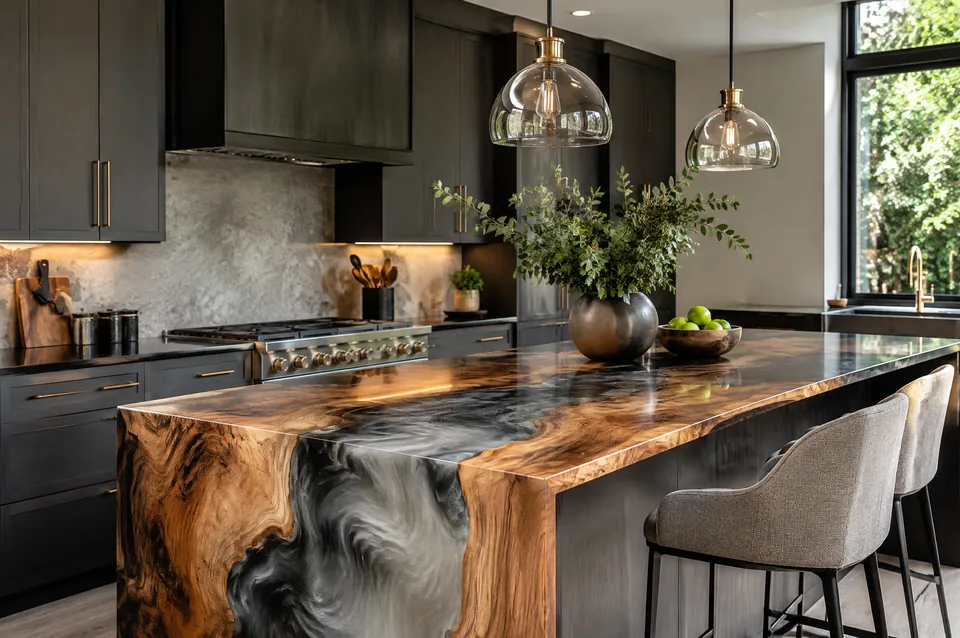
Countertops & islands
Wood and resin tops for kitchens and islands, templated to the cabinets, with cut-outs and seams planned in the drawing.
Illustrative image
03
Bar tops
Long, wet, hard-used surfaces at home or in a restaurant, sealed on every face and sized for the overhang a bar needs.
Illustrative image
02 — The honest version
What resin is good at, and what it isn’t.
Resin is a material like any other, with strengths and limits. Knowing both is how a resin piece stays beautiful.
- Good at
- Filling voids, checks and bark pockets; joining two live edges; giving a wipeable, continuous surface; carrying colour.
- Heat
- Epoxy softens with heat. Hot pans, pots and dishes go on a trivet, always.
- Sunlight
- Strong, direct sun can yellow clear resin over time. Tell us if the piece will sit in a bright window, as it changes the resin and finish we recommend.
- Scratches
- Resin is softer than stone and will show fine scratches. A topcoat helps, and the surface can be re-polished.
- Movement
- Wood moves with the seasons; cured resin barely does. Well-dried stock and the right pour design keep the two from fighting.
03 — The pour
Slow, in layers, then flat.
- 01
Seal
The slab edges are sealed first so trapped air doesn’t bubble up through the pour.
- 02
Pour in layers
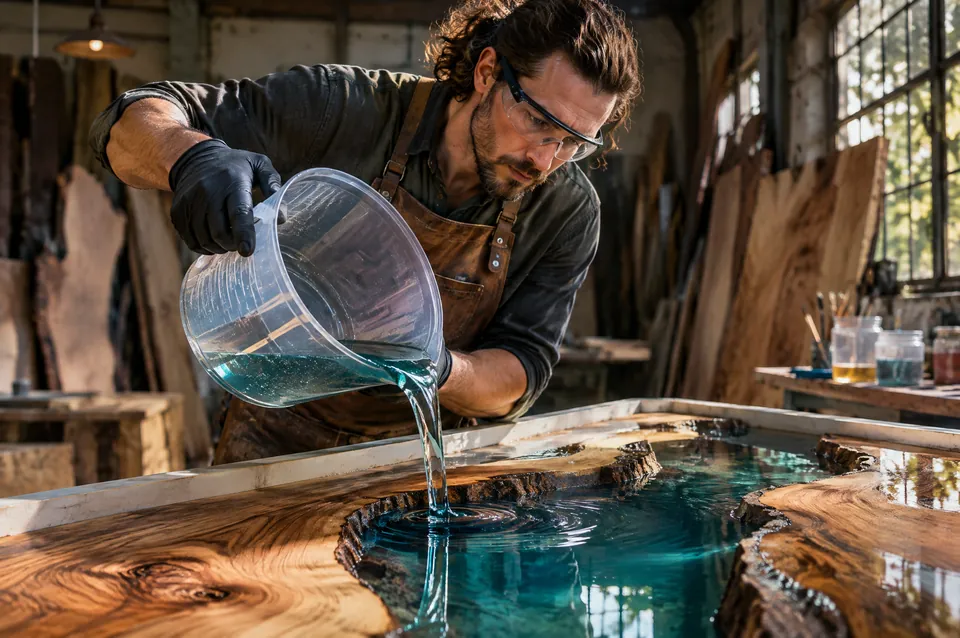
Deep channels are poured in layers matched to the resin’s heat limit, so it cures clear instead of cracking.
- 03
Cure, flatten, finish
After a full cure the top is flattened as one surface, sanded through the grits and finished.
Thinking about a river table?
Tell us the room and the colour you have in mind. We will suggest slabs that suit it.
Start a commission